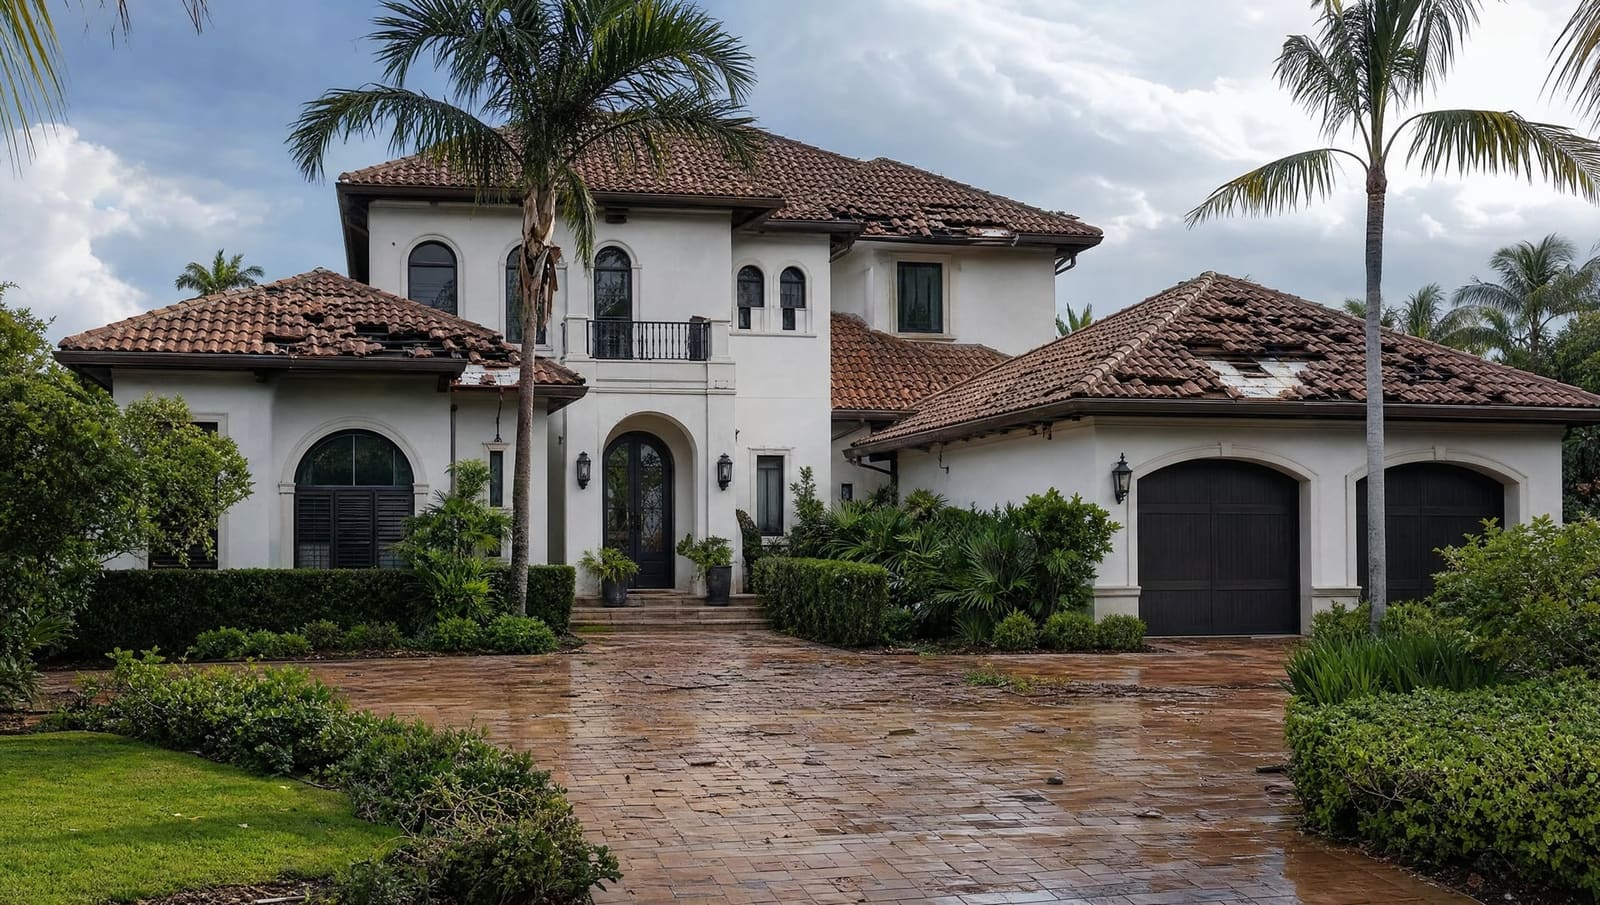
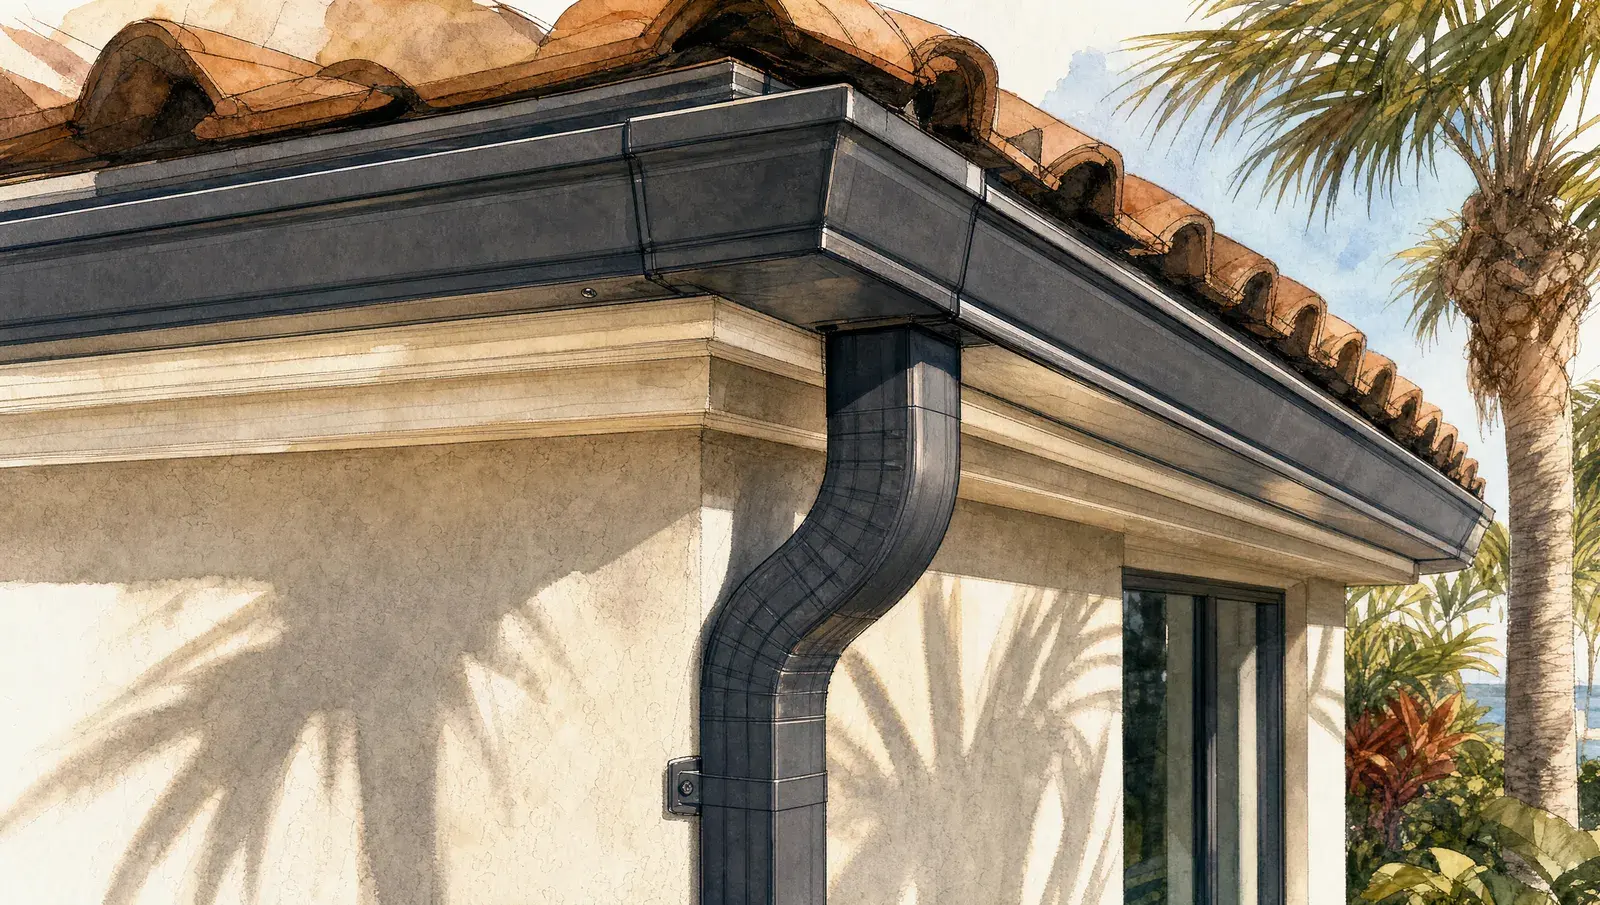
Every repair starts with understanding what failed and why. The process protects your home while addressing the root cause.
Step 1: Roof inspection and damage assessment. We document the visible damage, then trace it back to the source. A ceiling stain might point to failed flashing three feet away from where water appears inside. We photograph conditions, measure affected areas, and check surrounding materials for hidden deterioration.
Step 2: Scope definition and material matching. Once we know what needs repair, we match existing materials. Tile profiles, metal panel gauges, shingle lots, and membrane manufacturers all matter when blending new work into an established roof. We source exact or compatible replacements so the repair doesn't stand out visually or perform differently.
Step 3: Temporary protection if needed. When weather threatens before we can complete the repair, we install temporary tarps or sealant to prevent further water intrusion. This step protects your interior until permanent work is scheduled.
Step 4: Removal of damaged material. We remove only what's compromised. On tile roofs, that means lifting and setting aside salvageable tiles around the repair zone. On metal roofs, we unfasten panels carefully to avoid bending edges.
On shingle roofs, we cut back to sound deck. On flat roofs, we cut membrane to expose the leak path.
Step 5: Deck and substrate repair. If water reached the roof deck, we replace rotted plywood or OSB sections. Structural framing gets evaluated; if a rafter or truss shows damage, we bring in the appropriate repair or sister additional framing. Substrate must be solid before new roofing goes down.
Step 6: Flashing and underlayment installation. New underlayment goes over repaired deck sections. Flashing gets fabricated to match existing profiles or upgraded when the original detail was inadequate. Valleys, chimneys, skylights, and pipe penetrations all get sealed with the same attention as a full roof replacement.
Step 7: Roofing material installation. Replacement tiles get set in mortar or clipped per manufacturer protocol. Metal panels get fastened with concealed clips matching the existing system. Shingles get nailed to manufacturer spec with proper overlap.
Membrane gets heat-welded or adhered with full-contact bond.
Step 8: Final inspection and cleanup. We verify the repair is watertight, fasteners are secure, and the visual blend is acceptable. Debris gets removed, surrounding areas get cleaned, and we walk the homeowner through what was done.